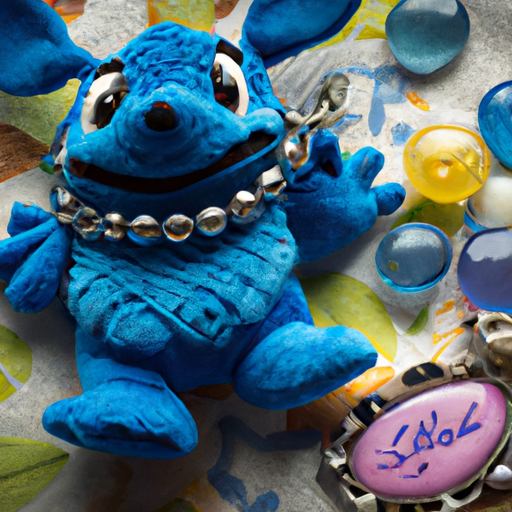
In the video “Stitch Embellished Charm Bracelet with Blueberry Pie Beads,” Brittany Chavers of Turquoise Street demonstrates how to make adorable charm bracelets using Disney’s Stitch embellishments from Dress it Up and Blueberry Pie Beads from Jesse James Beads. With a combination of charm dangles, beads, and a silver paperclip chain, Chavers shows how to create two unique bracelets that capture the essence of Disney’s Stitch character. This tutorial is perfect for both beginners and experienced jewelry makers and provides a fun and creative way to showcase your love for all things Disney. Grab your materials and get ready to create some charming bracelets that are #disneybound!
In the video, Chavers begins by transforming the Stitch embellishments into dangles using E6000 glue and jump rings. She demonstrates the process of creating the charm bracelets, using stretch cord and the blueberry pie beads to string the beads onto the bracelets. Chavers also provides tips on properly securing the knots and adding crimp bead covers for a polished look. With her step-by-step instructions and lively personality, Chavers makes it easy and enjoyable to create these whimsical and adorable Disney-themed charm bracelets. So grab your crafting supplies and get ready to make some fabulous bracelets that showcase your love for Disney’s beloved character Stitch.
Supplies Needed
To make these adorable Stitch charm bracelets, you will need the following supplies:
- Disney’s Stitch Dress It Up Embellishments
- Blueberry Pie Market Fresh Mini Mix beads from Jesse James Beads
- Silver Paperclip Chain
- E6000 Glue
- Jump Rings (6 or 8mm recommended)
- Toothpick (for applying glue)
- Beadalon Elasticity Stretch Cord
- Crimp Bead Covers
- Cutting Tool
- Crimping Tool
- Round Nose Pliers
- Bent Nose Pliers
These supplies can be easily obtained from your local craft store or online suppliers. Once you have gathered all the necessary materials, you can start creating your very own Stitch charm bracelets.
Making the Charms
To start, you will need to make the charm that will hang from your bracelet. Follow these steps to create the charms:
Applying Glue to Stitch button
- Take one of the Stitch Dress It Up Embellishments and locate the shank on the back.
- If desired, you can cut off the shank using a cutting tool, but this is not necessary.
- Use E6000 Glue to apply a small bead of glue on the top of Stitch’s head.
Attaching Jump Ring
- Take a jump ring, preferably 6 or 8mm in size, and open it using round nose pliers or bent nose pliers.
- Place the open portion of the jump ring into the glue on Stitch’s head, leaving part of the jump ring out of the glue.
- Close the jump ring using pliers and make sure it is securely attached to the charm.
Embedding Jump Ring with Head Pin
- Take a head pin and insert it into the jump ring.
- Gently embed the jump ring into the glue on Stitch’s head.
- Set the charm aside to dry for at least 20 minutes to an hour.
- It is advisable to let the charm dry completely for 24 hours before using it in jewelry making.
By following these steps, you can create charming Stitch embellishments that will add a touch of Disney magic to your bracelets.
Creating the Bracelets
Now that your charms are drying, it’s time to create the bracelets themselves. Follow these steps to create the bracelets:
Using Stretch Cord and Paperclip Chain
- Take a length of Beadalon Elasticity Stretch Cord and Silver Paperclip Chain.
- Cut the desired length of chain for your bracelet. The length will depend on how long you want your bracelet to be.
Knotting the Cord
- Take one end of the stretch cord and knot it around one link in the chain.
- Make a tight knot and repeat the process to create a double knot.
Dabbing Glue on the Knot
- Apply a small dot of GS Hypo Cement or a similar adhesive to the knot.
- This will secure the knot in place and prevent it from coming undone.
Stringing Beads onto the Cord
- Start stringing beads from the Blueberry Pie Market Fresh Mini Mix onto the stretch cord.
- Slide the beads down the cord, arranging them in any order or pattern you prefer.
- Continue until you have strung all the beads onto the cord.
Measuring and Cutting the Length
- Lay out a second bracelet and measure it against your wrist to ensure you have the desired length.
- If necessary, you can cut off a few links from the chain to adjust the length.
- Once you are satisfied with the length, proceed to the next step.
Knotting the End and Dabbing with Glue
- Knot the other end of the stretch cord around a link in the chain, similar to the first end.
- Make a double knot and ensure that all the beads are tightly secured.
- Apply a small dot of glue to the knot to keep it in place.
Using Crimp Bead Covers
- Take crimp bead covers from Beadalon and place them over the knots on both ends of the bracelet.
- Make sure the covers fully encase the knots and bring the tail of the cord down.
- Use crimping pliers to squish the covers, securing the knots in place.
- Adjust and maneuver the covers to ensure they are neatly placed.
Snipping Excess Tail
- Use cutting tools to snip off any excess tail from the stretch cord.
- Be careful not to cut the bracelet itself or the knot.
With these steps, you have successfully created stretch cord and paperclip chain bracelets adorned with beautiful Blueberry Pie beads.
Adding the Charms
Now that your bracelets are complete, it’s time to add the charms. Follow these steps to attach the charms to the bracelets:
Hanging Stitch Charm with Jump Ring
- Select the Stitch charm you created earlier.
- Take a jump ring and open it using pliers.
- Attach the Stitch charm to the desired spot on the bracelet by closing the jump ring.
- Ensure that the jump ring is securely fastened and that the charm is hanging properly.
Decorating the Bracelet with Dangles and Tassels
- Take ball head pins and turn them into dangles by stringing beads from the Blueberry Pie mix onto the pins.
- Use wire wrapping techniques to secure the beads and create loops at the top of the dangles.
- Cut excess wire and repeat the process to create multiple dangles.
- Attach the dangles to various spots on the bracelet using jump rings.
- You can also use tassels as decorative elements by attaching them to the bracelet with jump rings.
Attaching Everything with Jump Rings
- Use jump rings to attach any additional charms, dangles, or tassels to the bracelet.
- Experiment with different placements and arrangements to create a unique and personalized design.
By following these steps, you can add the finishing touches to your bracelets and create a whimsical and charming Disney-inspired piece of jewelry.
Conclusion
In conclusion, creating your own Stitch charm bracelets is a fun and creative way to celebrate your love for Disney and accessorize your outfits. With the help of Brittany Chavers and the supplies mentioned above, you can easily make these adorable bracelets.
Once you’ve mastered the Stitch design, you can also personalize your bracelets with different Disney characters using the Dress It Up Embellishments and a variety of beads from Jesse James Beads. The possibilities are endless, and you can create unique pieces that reflect your favorite Disney movies and characters.
The end result will be a collection of beautiful and eye-catching bracelets that showcase your love for Disney. Whether you’re a beginner or an experienced jewelry maker, this tutorial is perfect for anyone looking to add a touch of magic to their accessory collection.
Thank you for joining us on this jewelry-making adventure, and we hope you enjoy creating your own Stitch charm bracelets!