Looking to add a touch of Disney magic to your jewelry collection? Get ready to unleash your creativity with our latest installment of “Get Creative with Disney Princess Bracelets: Anna Inspired.” In this video, brought to you by TheNosyCat, you’ll discover the step-by-step process of making a stunning bracelet inspired by the beloved Disney princess, Anna.
But that’s not all! To accompany this enchanting tutorial, Yunseulpiano has provided a captivating piano cover. Trust us, her talent is simply amazing! So, why wait? Get your seed beads ready and prepare for a mesmerizing experience as you embark on this crafting adventure. Be sure to follow along with this viral sensation by using the hashtags #shorts, #viral, #seedbeads, #asmr, and, of course, #disney. Get ready to create a piece that perfectly captures Anna’s spirit and adds a sprinkle of Disney magic to your style. Let’s dive into the wonderful world of making Disney-inspired bracelets!
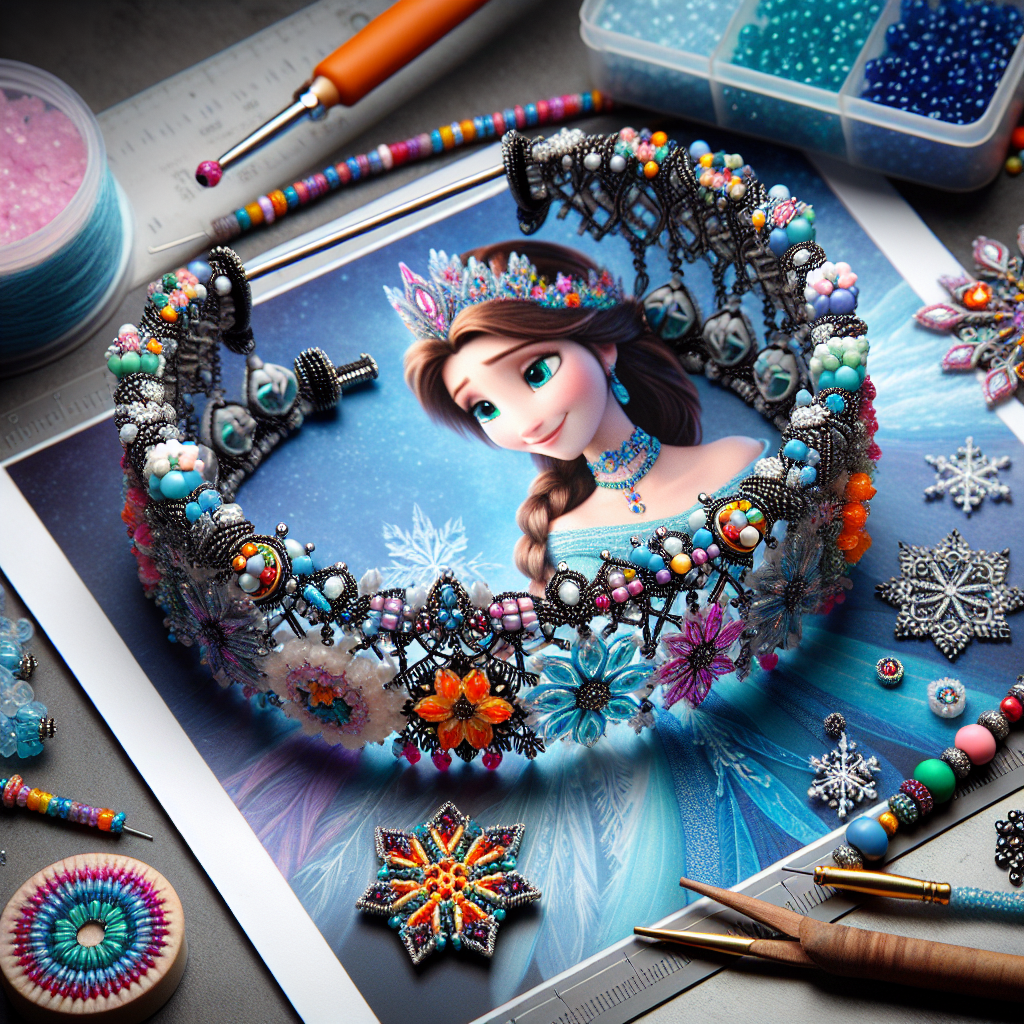
Making an Anna-Inspired Bracelet: A Step-by-Step Guide
So you’ve decided to make a bracelet inspired by everyone’s favorite Disney princess, Anna! This project will not only allow you to showcase your creativity, but it will also serve as a perfect accessory for any Disney fan. In this comprehensive guide, we will take you through each step of the process, from gathering the materials to adding the final touches. So let’s dive in and create a beautiful Anna-inspired bracelet together!
I. Materials Needed
Before we begin, let’s make sure we have all the necessary materials to create our Anna-inspired bracelet. Here’s a list of what you’ll need:
A. Seed Beads
Seed beads will be the main component of your bracelet. They come in a wide variety of colors and sizes, allowing you to customize your design according to your preferences.
B. Thread or Cord
A strong and durable thread or cord is essential for holding your beads together. Choose a material that is suitable for jewelry-making, such as nylon or silk thread, or a sturdy beading cord.
C. Bracelet Clasp
To fasten your bracelet securely around your wrist, you’ll need a bracelet clasp. There are different types of clasps available, such as lobster clasps or toggle clasps. Choose one that complements your design and ensures a secure closure.
D. Beading Needle
A beading needle with a small eye will make it easier to thread your seed beads onto the thread or cord. It’s important to choose a needle that can pass through the holes of your beads without causing any damage.
E. Scissors
You’ll need a pair of sharp scissors to cut your thread or cord. Make sure they are designated for cutting thread or cord and have a fine point for precision.
F. Anna Inspired Charms
To add a touch of Anna’s character to your bracelet, consider incorporating Anna inspired charms. These can be small decorative elements that represent Anna’s story or her iconic elements like snowflakes or flowers.
G. Jewelry Pliers
Jewelry pliers are optional but can be useful for attaching the clasp and charms securely. Round-nose pliers are particularly useful for bending wire or jump rings.
H. Tape Measure
To ensure the perfect fit for your bracelet, a tape measure or ruler will come in handy. Measure your wrist circumference and add a little extra length to account for comfort.
I. Bead Mat
A bead mat or soft cloth will prevent your beads from rolling away and keep them organized during the beading process. Bead mats are designed to provide a non-slip surface and make it easier to pick up individual beads.
J. Optional: Bead Stopper
A bead stopper can be used to hold your beads in place while you work on your bracelet. This prevents them from sliding off the thread or cord and keeps them organized.
Now that you have all the necessary materials, let’s move on to choosing the right colors for your Anna-inspired bracelet.
II. Choosing the Right Colors
A. Anna’s Color Palette
To capture the essence of Anna’s character, it’s important to consider her color palette. Anna is often associated with colors like deep red, teal, and lavender. These colors represent her vibrant personality and are often seen in her costumes and surroundings.
B. Mixing and Matching Colors
While Anna’s color palette can serve as a guide, don’t be afraid to mix and match colors to create a unique and personalized bracelet. Experiment with different combinations to find a color scheme that best represents your interpretation of Anna.
C. Considering Skin Tone
Take your skin tone into account when selecting your color palette. Certain colors may complement your skin tone better than others, enhancing the overall look of the bracelet when worn. Consider trying out different color combinations against your skin to see which ones are the most flattering.
Now that you have a good idea of the colors you want to use, let’s move on to designing your bracelet.
III. Designing Your Bracelet
A. Selecting a Pattern
Before you start stringing the beads, take some time to think about the pattern you want to create. Consider whether you want a simple and repetitive pattern or a more intricate design with different bead arrangements. Sketch out your ideas on paper or use a beading software to visualize your design.
B. Experimenting with Different Patterns
Don’t hesitate to experiment with different patterns and arrangements. Lay out your beads on your bead mat in different sequences to see how they look together. This will give you a better idea of how the final bracelet will turn out and allow you to make any adjustments before starting the stringing process.
C. Adding Anna Inspired Charms
To incorporate Anna’s character into your bracelet, consider adding Anna inspired charms. These can be attached at various intervals or as focal points along the bracelet. Place them strategically to enhance the overall design and evoke the essence of Anna’s story.
Now that you have your design in mind, it’s time to get started with the beading process.
IV. Getting Started
A. Preparing Your Beading Needle
Thread your beading needle with the desired length of thread or cord. Ensure that the thread is securely fastened to the eye of the needle to prevent it from slipping off while stringing the beads.
B. Cutting Your Thread or Cord
Using your scissors, cut a length of thread or cord that is slightly longer than your wrist circumference, taking into account the additional length needed for the clasp. It’s always better to have a little extra length to work with.
C. Setting Up Your Bead Mat
Place your bead mat or soft cloth on a flat surface. This will allow you to easily pick up the beads and keep them from rolling away. Arrange your beads and charms within easy reach for convenient access during the beading process.
Now that your materials are prepared, it’s time to start stringing the beads onto your thread or cord.
V. Stringing the Beads
A. Using a Bead Stopper
If you have a bead stopper, attach it to one end of your thread or cord. This will prevent the beads from sliding off while you work on the other end. If you don’t have a bead stopper, you can tie a knot at one end of the thread or cord to serve the same purpose.
B. Stringing the Seed Beads
Start threading your seed beads onto the thread or cord, following your chosen pattern. Take your time and be careful not to tug or pull the thread too tightly, as this may cause it to snap. Use your fingers or the beading needle to guide the beads onto the thread smoothly.
Continue stringing the beads until you have reached your desired length, leaving enough space for the clasp and any additional charms you plan to add.
Now that you’ve finished stringing the beads, it’s time to add the clasp to complete your bracelet.
VI. Adding the Clasp
A. Choosing the Right Clasp
Select a bracelet clasp that matches the size and style of your design. Consider whether you want a clasp that is easy to use, such as a lobster clasp, or one that offers a decorative element, like a toggle clasp. Make sure the clasp is compatible with the size of the beads and thread or cord you’re using.
B. Attaching the Clasp to the Ends of the Bracelet
Thread one end of your thread or cord through one side of the clasp, and tie a secure knot to hold it in place. Repeat the process with the other end of the thread or cord and the other side of the clasp. Check that the clasp is securely attached and test its functionality by fastening and unfastening it a few times.
With the clasp in place, your bracelet is almost complete! Now let’s add some Anna inspired charms to give it that special touch.
VII. Adding Charms
A. Selecting the Anna Inspired Charms
Choose Anna inspired charms that align with the theme and colors of your bracelet. These can be charms in the shape of snowflakes, flowers, or any other iconic element associated with Anna. Consider the placement of the charms and ensure they are evenly spaced or strategically positioned for maximum impact.
B. Attaching the Charms to the Bracelet
Using jewelry pliers if needed, attach the charms to the bracelet by connecting them to jump rings or directly tying them onto the thread or cord. Ensure that the charms are securely fastened and won’t easily come loose during wear. Take your time to position the charms in a way that enhances the overall aesthetics of the bracelet.
Now that your charms are in place, it’s time for the finishing touches.
VIII. Finishing Touches
A. Checking for Loose Beads
Before finalizing your bracelet, carefully inspect your work for any loose or misaligned beads. Gently press down on each bead to ensure they are securely strung and not at risk of falling off.
B. Securing the Thread or Cord
To secure the ends of your bracelet, tie a double knot using both ends of the thread or cord. Apply some clear adhesive or glue to the knot for added security. Ensure that the knot is hidden within the beads or covered by the clasp for a clean and polished finish.
C. Trimming Excess Thread or Cord
Using your scissors, carefully trim any excess thread or cord, ensuring that you leave a small tail for added durability. Be careful not to cut too close to the knot, as this may cause it to come undone.
With the finishing touches complete, your Anna-inspired bracelet is now ready to be worn. But how do you care for and maintain it? Let’s find out.
IX. Care and Maintenance
A. Cleaning the Bracelet
To clean your bracelet, gently wipe it with a soft cloth or jewelry cleaning cloth. Avoid using harsh chemicals or abrasive materials that may damage the beads or charms. If necessary, you can remove tough stains by using a mild soap or jewelry cleaning solution.
B. Storing the Bracelet
When not in use, store your bracelet in a soft pouch or jewelry box to prevent it from getting tangled or damaged. Keep it away from direct sunlight, moisture, and extreme temperatures to maintain its quality and prevent any fading or discoloration.
C. Repairing the Bracelet
In case of any damage or loosening of beads or charms, you can repair your bracelet by restringing the affected area. Carefully remove the damaged part and restring with new thread or cord. Ensure that the beads and charms are securely attached before continuing to wear the bracelet.
X. Final Thoughts
Congratulations on creating your very own Anna-inspired bracelet! You have successfully combined creativity and craftsmanship to produce a unique piece of jewelry. Whether you wear it as a personal accessory or give it as a thoughtful gift, this bracelet will always remind you of the magical world of Disney and the inspiring character of Anna.
Remember, don’t be afraid to let your creativity shine through and make the bracelet truly your own. Experiment with colors, patterns, and charms to create a design that resonates with you. Enjoy the process of crafting and have fun bringing your Anna-inspired bracelet to life!